

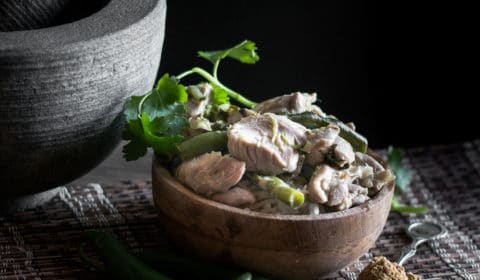
Would you like to have green chicken curry ready in your fridge or freezer for the next 4 days? So would I! And that’s why I made this green curry meal prep recipe. Very quick and easy to make and super delicious!

Ok, here we are, my first meal prep recipe. I don’t know about you but I am pretty excited because this is a dish where I don’t think you can go wrong when it comes to meal prep. What I love about green chicken curry is that it isn’t a super rich and heavy dish.
Rather, it’s quite light but it will still fill you up. And since we are making our own curry paste, we can add as much or as little spice as we want!! 3 green chillies gives the curry quite a hit of heat the first few bites, but you get used to it as you eat it. If you aren’t very good with spice however, use 2 chillies, and if you REALLY can’t handle a lot of spice, one may just be enough for you.
The Process of Making Thai Green Curry
The best way to describe it is hot and fast. Once all of your ingredients are prepared, it takes no time at all to cook this curry.
I love to fry the curry paste separately for a minute just to release those aromas and flavours before I add the coconut milk, the chicken and all of the other good stuff.

And you’ll notice that I just add a small splash of stock to the curry as well.
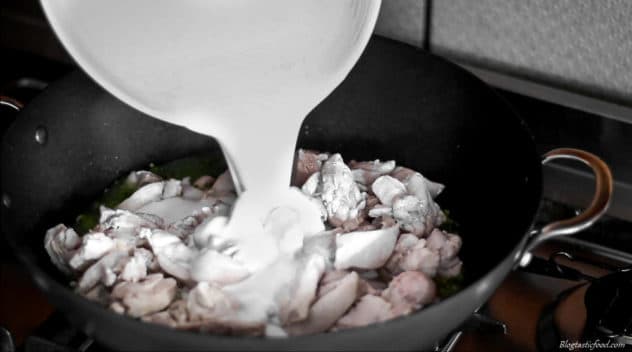
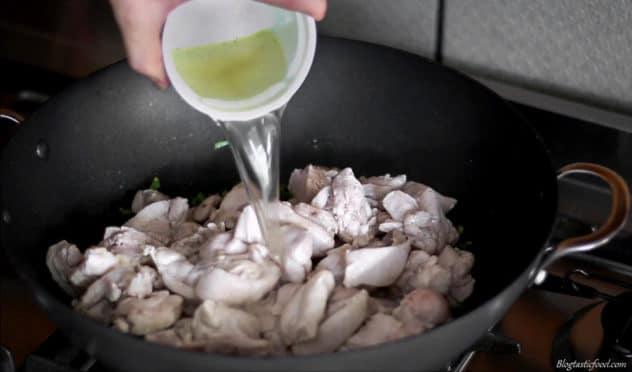
I do this because I find that the coconut milk itself is quite rich, so mellowing it out with just a touch stock worked out quite well. Although it’s important to not add too much stock because we don’t want to thin it out to the point where the dish starts looking like soup. And adding the stock is more of a personal thing I like to do so don’t feel like you need to add it as well.
And remember, you don’t need to stand around cooking this curry for a long period of time. The chicken cooks in no time since we are cutting it in thin strips. And the beans will only take 1-2 minutes of cooking so honestly, from the time you start cooking this dish, to the time it’s done. It shouldn’t take longer than 15 minutes.
But I don’t have a Food Processor!
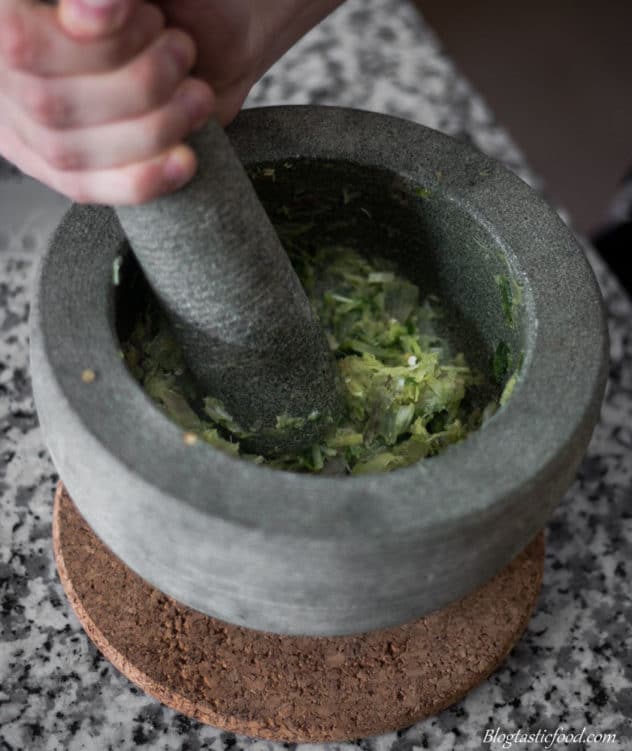
Ok, ok calm down, I got your back. I did a little test by attempting to make this paste in a pestle mortar, and it totally works! However, keep in mind that you mustn’t be shy when bashing these ingredients, you won’t get a paste by lightly tapping the ingredients. So really get in there and bash them!
I went about this by putting the galangal and the salt in first.
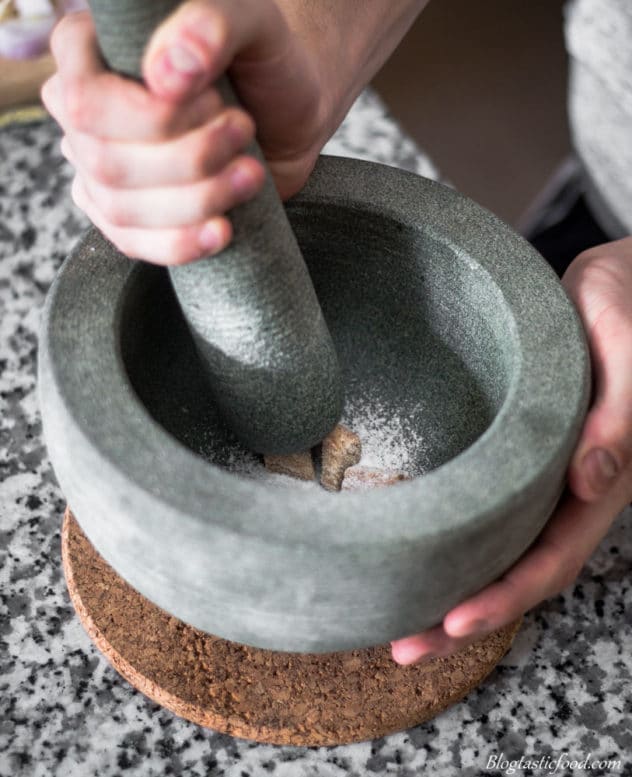
The reason I bash the galangal first is because it’s quite tough. Don’t think it has the same texture as ginger or fresh turmeric. I would say the flesh of galangal is least 3 times tougher. So bashing that first on its own with a pinch of salt is a good idea because it ensures that you won’t chomp on a big piece of it later when you’re eating the curry.
Oh, and the salt really helps with this process because it helps break down the ingredients.
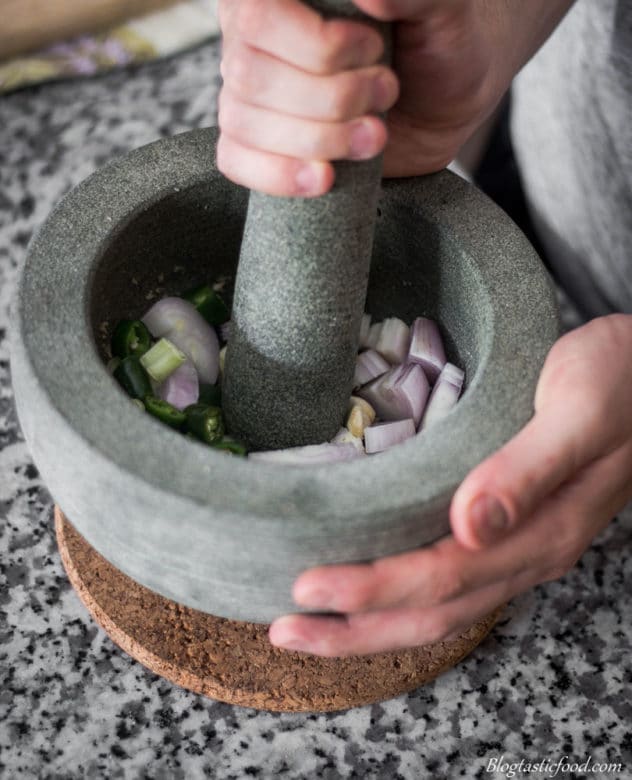
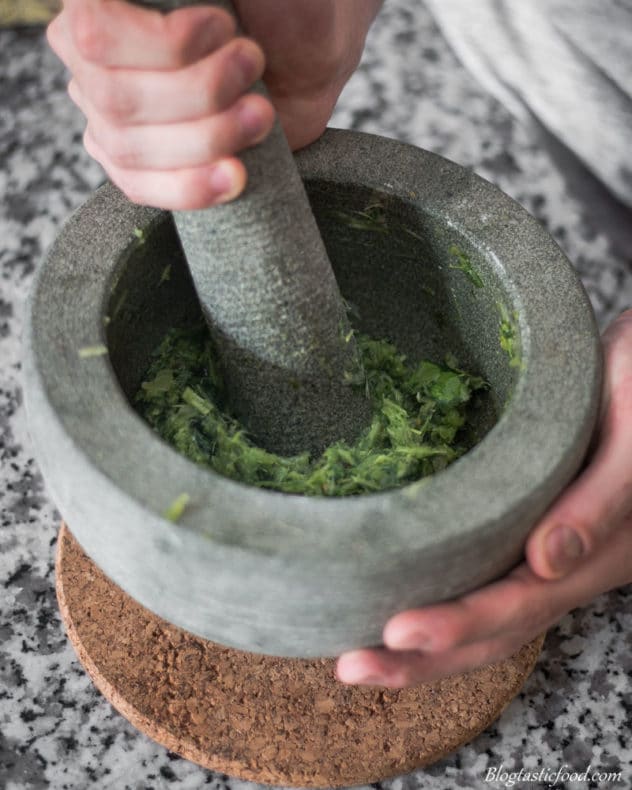
Next, add your chillies, shallots, garlic and lemongrass then continue bashing. These ingredients won’t be as tough as the galangal, but still, make sure they are all nice and broken down. I found that the chillies took the longest to pasteify (yes that is my new made up word) so try to really focus your attention on them.
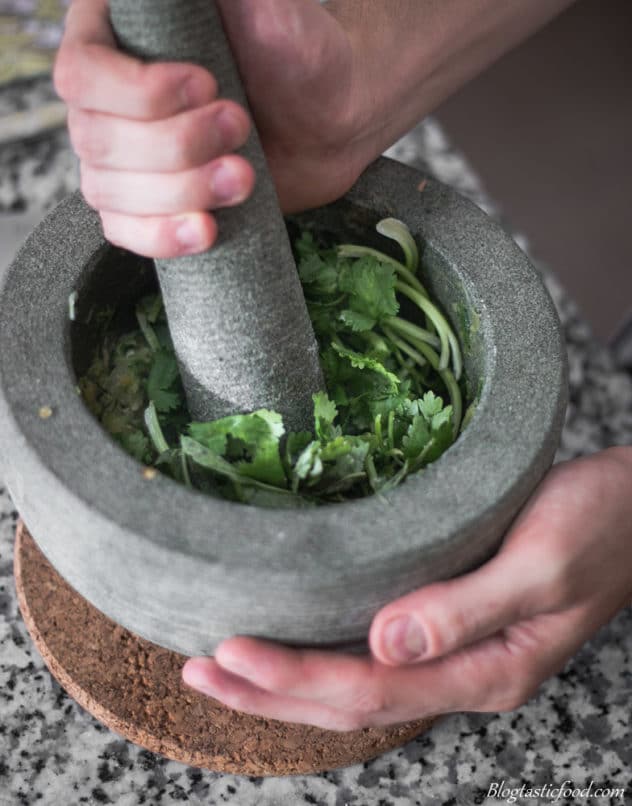
You then add your greenery, so the coriander and the basil BUT, before you add your lime leaves, chop them up as finely as you can first because I found that they weren’t very mash-able. It shouldn’t be much work from here on, the leaves break down very easily.
Finally, just add the spices and stir them through.
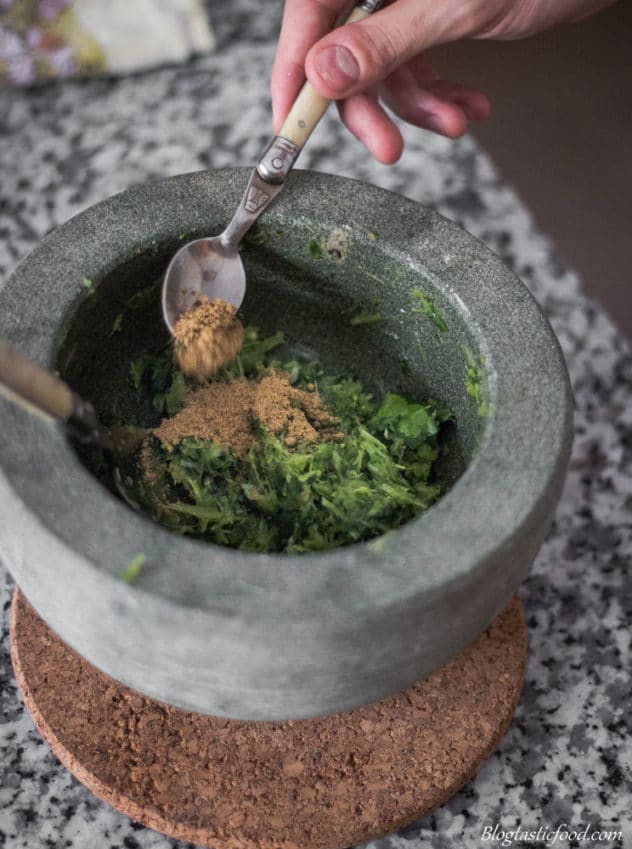
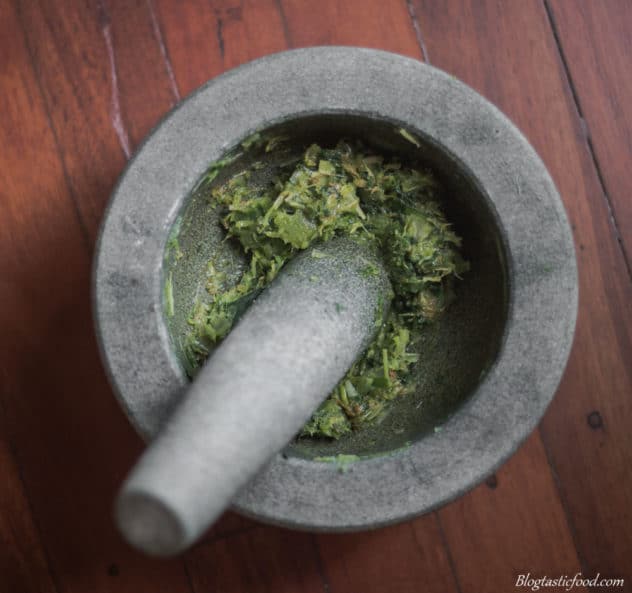
And it’s as easy as that!! If you don’t muck about you should get this paste done in 5-10 minutes using a pestle mortar.
As you can see the paste is a little course and that is absolutely fine, as long as you don’t have big chunks in there, you’re good to go. However, if you want your paste to be 100% smooth, then you can continue bashing for another 15-20 minutes, but that is totally up to you.
What if I want to use a different meat?
This is absolutely fine, as long as you just apply the same rules. Whether it’s pork, beef, lamb you name it, slice it into strips and then cook it hot and fast so it gets that nice colour.
I personally think that pork is the next best thing because it’s quite a light meat. Compared to something like lamb which is a bit dark and rich for green curry in my opinion. Although I think it would be great for Thai red curry!
Thanks so much for reading through my first ever meal prep recipe, I am going to be posting them more often so stay tuned! The best way to stay tuned would be to subscribe, as you will receive weekly recipe posts through E-mail.
Have an incredible day, and I will post again soon!
Please read: This recipe contains peanut oil. So make sure that whoever is eating this curry isn’t allergic to peanuts, or change the oil.
Thai Chicken Green Curry Meal Prep
Ingredients
Curry Paste:
- 3 fresh green chillies roughly chopped
- 1 teaspoon of salt
- 1 shallot peeled and roughly chopped
- 2 garlic cloves peeled
- 1 big handful of fresh coriander
- 1 lemongrass stalk roughly chopped
- 2 kaffir lime leaves
- 1 little piece of fresh galangal peeled
- 1 generous pinch of ground coriander
- 1 generous pinch of ground cumin
- A handful of Thai basil (or regular basil if you can't get Thai basil)
- peanut oil
Chicken Green Curry:
- 2 tablespoons of peanut oil
- 1 kg of boneless chicken thighs cut into thin strips
- 400 ml (1 can) of coconut milk
- 100 ml of chicken stock
- 400 g of green beans
- Salt and pepper for seasoning
- A big handful of fresh coriander roughly chopped
The Rice:
- 2 cups of basmati rice
- 3 cups of water
- A pinch of salt
Instructions
The Paste:
-
Put all of your ingredients in a food processor and add a touch of peanut oil just to help break down and bind the ingredients together.
-
Start processing the ingredients for about a minute or 2 until you get a nice curry paste.
The Curry:
-
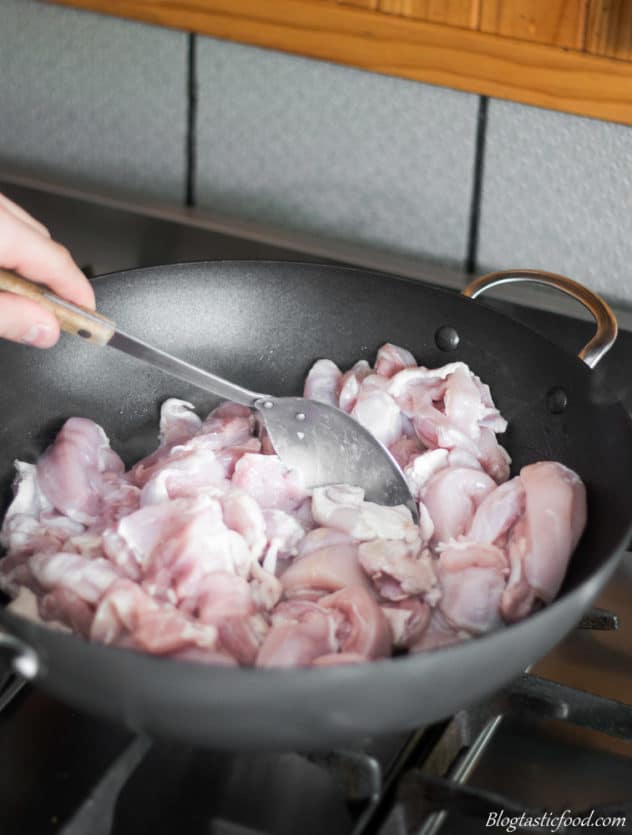
Pre-heat a large wok, pot or pan over high heat. Add half of your oil, then add your chicken, making sure you don't overcrowd the pan (if you need to add the chicken in 2 batches, do so). Fry on really high heat for a minute or 2 to get some really nice colour on the meat and then transfer the chicken to a bowl or a container.
-
Turn the heat on the stove down to about medium, add the other half of your oil, then add your curry paste and fry for about 30 seconds - 1 minute.
-
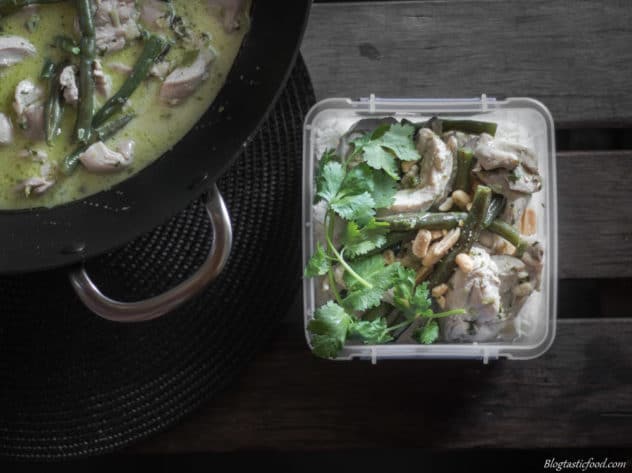
Put your cooked chicken back in the pan, along with your coconut milk, stock and green beans. Bring the mixture to a boil, then turn the heat down to a simmer, put a lid on and cook for a couple of minutes or until the beans are nice and tender.
-
Season the curry to taste with salt and pepper, add your coriander, turn the heat off and set aside.
The Rice:
-
Put your rice in a sieve, then run some water over it for about half a minute to get rid of some of the starch.
-
Put your rice, water and salt in a pot, then bring to a boil. As soon as the rice is boiling, turn the heat down to a gentle simmer, then put a lid on top. From there, let the rice simmer for 8-10 minutes. Once the rice is cooked, turn the stove off.
-
Get 4 containers, and fill them up evenly with the rice and the curry then store away.
Recipe Video
Recipe Notes
- If you don't have a food processor, use a pestle mortar to bash the ingredients to a paste.
- You can use any meat you want, just make sure you cut it into strips, and pre-heat the wok, pot, or pan well before you start cooking it.
- It would be a good idea to freeze whatever servings of curry you don't have within the next 5 days.
Other amazing curry recipes
Easy Potato Curry with Green Beans

Delicious sounding curry with all those aromatics and fresh herbs etc but I’ll stick with the food processor. even though I have a smallish mortar and pestle. 🙂
Yes the food processor is definitely easier! I really appreciate your comments! (:
I love Thai green curry, I used to make it a lot but haven’t in a little while so this reminds me I should again soon. Yum!
I prepped this for my lunches this week and omg was it delicious! Thanks so much for sharing!
That curry sounds so good. Love you included the option to use a mortar so pretty much anyone can make it.
I LOVE the detail you include in your recipes, Nicolas 🙂 You always think of everything, and that is so appreciated. Not to mention, your food is SO delicious 🙂
I love that you really explained in detail how to make the curry paste and gave us photos for each step! I’ve never made curry like this before (Japanese curry is so different) so the shots definitely help!
It’s such an easy curry to make!! (:
Oh how amazing thank you so much for making it and leaving your feedback! I’m truly grateful!
Thank Steph! I honestly think that it’s better when you make it in the pestle mortar 😉
Thank you so much Alexandra! Your support is always greatly appreciated! (:
Thank you Edan for the lovely comment that is so kind of you. Interesting that you say that because I need to start making Japanese curries. Katsu curry is the best! (:
I almost crave curry — and I think could have it almost every day. Yours looks amazing and I love the idea of making your own curry paste. Plus… the 30 minutes or less is perfect! Thanks for another great recipe.