This guide is all about how to prepare potatoes using a number of cooking methods. We’ll go over the different types of potatoes and how you should use them. We’ll go over roasting potatoes, pureeing potatoes, mashing potatoes, making chips, making potato salad and more. Let’s do this!!
Starchy and Waxy Potatoes:
So, to start things off I’ll quickly talk about starchy and waxy potatoes. Throughout this guide, I will show you how to prepare potatoes using different cooking methods and techniques, and how to do so effectively. Before I start explaining each method, I will quickly jot down if it’s better to use waxy potatoes or starchy potatoes for the particular cooking method. I believe that this is important to be mindful of when you make a particular potato dish.
With that being said, let’s go over the 3 types of potatoes and what makes them different:
Waxy Potatoes:
Waxy potatoes are lower in starch and are wetter inside, so they don’t absorb fat as well as starchy potatoes. However, the perk of waxy potatoes is that they hold there shape much better than starchy potatoes. So you can boil them for potato salads, you can add them to stews and casseroles and you won’t have to worry about them breaking apart so easily.
Types of waxy potatoes:
- Dutch Crème – Now surprisingly enough, this potato has quite a buttery rich flavor, so it’s one of the few waxy potatoes that can still be used for making mash! However, I would still rather use them for roasting.
- Désirée – Actually quite versatile, they have a skin that is slightly purple and pink. I would definitely serve these in a comforting stew or casserole.
- Nadine – Another potato that is quite versatile and they have a very light colour. I find that they are usually quite small as well. Here in Australia they are sold as the “go to potato”. Sometimes they are labled as “washed potatoes”.
- Southern Gold – A potato with very yellow looking flesh and is know to be great in salads. This potato is also known as the pink eye potato.
Floury Potatoes:
Floury potatoes have a high starch content and aren’t as wet inside. They don’t hold there shape as well but they can consume a lot of fat. So they have a nice fluffy texture when making mashed potatoes, but they can also go really nice and crispy. We’ll go into further detail about all this later in this post.
Types of starchy potatoes:
- Maris Piper – A very popular light coloured looking potato and I have seen many people use them for making mashed potatoes. This potato is quite popular in the UK more so then the US.
- Russet potato – It really doesn’t get more classic than this when it comes to potatoes. I see this potato being used all the time when it comes to making mash and chips (French fries).
- King Edward – A very creamy coloured skin with red blushes. They are oval shaped and large in size. Can be fantastic for making gnocchi and potato cakes.
All Rounders:
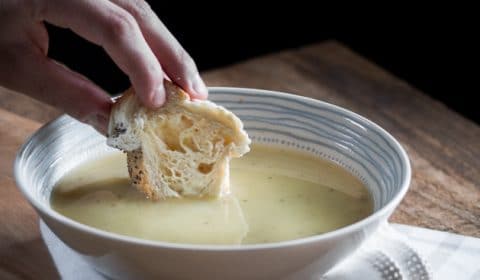
As you have probably already guessed, these are the potatoes that are in the middle of waxy and starchy. And because of that, I love using them for soups, but I’ll list a bunch of recipes at the bottom of this post where I believe all-rounder potatoes will serve you well.
Types of all-rounder potatoes:
- Royal Blue – One of my absolute favorites without a doubt! This potato has thick purple skin, and quite a yellow colored flesh. If you need a back up potato variety, this is the potato I would turn to.
- Yukon Gold – These potatoes have quite a yellowish golden colour and they are fantastic for mash as they have quite a creamy flavour.
- New Potatoes – These a baby potatoes and they are perfect for just about anything! However, when I have these potatoes on hand, I try to avoid peeling or cutting them. I love the serve them whole. I would boil them, then I would pan fry them in hot oil until the skin develops a beautiful colour, I would then finish them off by flavouring them with some butter and herbs before serving.
- Sebago – These potatoes have quite a dark skin and since they’re an all rounder, they are suitable for just about anything however, they soak up a lot of flavour so they can work beautifully in roast dinners.
These links will go over the potatoes I have just mentioned and more:
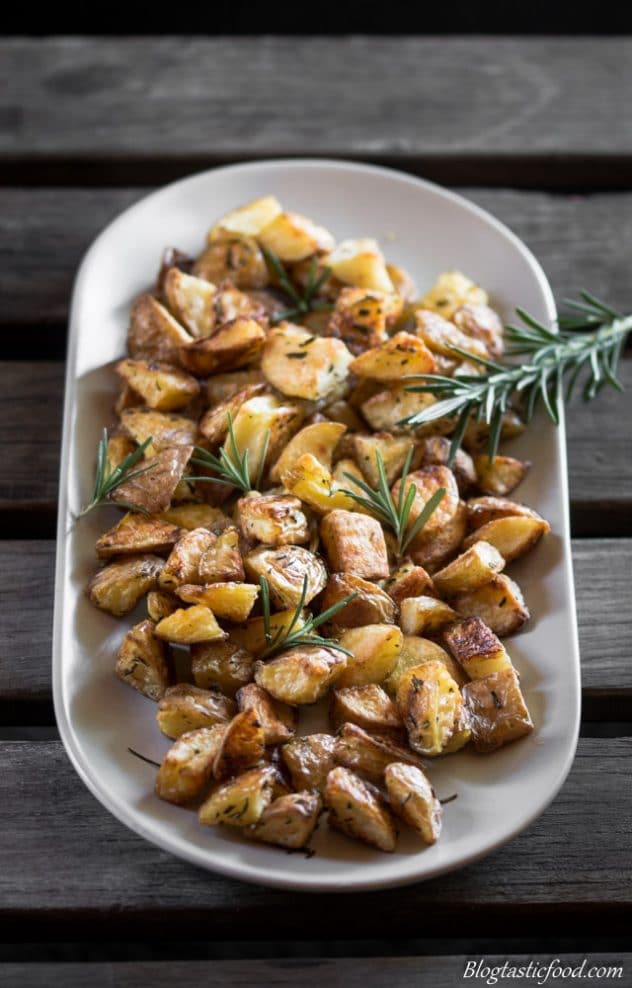
Roasting Potatoes (use waxy potatoes)
There are a number of steps you can take to make your roasted potatoes amazing! Although you don’t have to apply the steps I am about to show you.
In all honesty, drizzling a nice light oil over inch thick diced potatoes, seasoning them with salt and pepper, putting them on a lined roasting tray and roasting them in a hot oven for 40-50 minutes does the job well. Though there are extra tips and techniques you can apply to make your roasted potatoes even better, so it’s up to you when deciding how much time you would like to spend on your roasted potatoes.
So what I will do is list what I believe are the musts when making good roasted potatoes. Then, I will list the optional steps for the people who would like to take them a bit further.
The Musts:
Hot Oven – Absolutely no low and slow cooking today guys and gals. That crispy golden outer layer is the most important part of a quality roasted potato, simply because it wouldn’t be a roasted potato if it weren’t for that. And you cannot do this without the heat. In my opinion, your oven should be no less than then 190 degrees C (375 degrees F). And about 45-50 minutes of roasting should do the trick.
Light Oil – Like I said, we need a lot of heat right? So in that case, we need an oil with a high smoke point and oil that won’t interfere flavour wise. So light oils are great options when deciding what fat to use. And the good news is that there are so many you can use, vegetable oil, canola oil, sunflower oil, grape-seed oil and rice bran oil are a handful to consider.
Lightly Drizzle the Potatoes – By lightly I mean adding just enough oil to lightly coat your diced potatoes, which is the perfect amount in my experience. If you drench your potatoes in oil, I find that they end up being soggy when they come out of the oven. Remember, we’re roasting the potatoes, not deep frying them.

When they’re done, serve them ASAP – If your making your roasted potatoes for a special occasion and you have guests over, those potatoes should be the last thing that comes out of the oven. Meat can rest while covered, salads can be stored away, sauces can be re-heated etc. However, the longer you leave your roasted potatoes sitting out of the oven, the less crispy they will be, and they’ll start losing their quality.
What I like to do, is set a specific time as to when everything will be served, so for example, make it clear that dinner will be served at around 7:00. Then you’ll know that you should put the potatoes in the oven at about 6:10 – 6:15. When it’s time to serve, the potatoes will be done.
Making Space – This is crucial folks, your potatoes are coated in oil, they are seasoned beautifully and they are ready for roasting. The worst thing you can do is put the potatoes on a tray all piled on top of one another. Each dice of potato needs its own space on that tray. If your potatoes are stacked on top of one another, most of your potatoes will just steam and not roast, which is the complete opposite of what we want.

The Optional steps:
Par-boiling the Potatoes – Par-boiling means partially boiling, so boiling the potatoes until they are about half cooked. Now, why on earth would you do that? Well, you might be surprised that there are actually a few solid reasons to do this.
- If you like big chunky roasted potatoes (I prefer making my roasted potatoes smaller and you’ll know why soon), you don’t have to worry about whether the potatoes are cooked or not.
- When you drain your potatoes, you can toss them in the colander and fluff them up, and that fluffy outside can help create an even thicker, crispier outer layer. Remember, it’s ALL about creating that outer layer on your potatoes people, it’s NOT about making them nice and neat.
- This is going to sound strange, but boiling the potatoes actually makes them dryer. A raw potato holds the moisture inside, once it’s cooked and drained, the moisture gets released. The reason this is important to know is that the dryness of the potato helps the fat stick to it better, and can contribute towards making that beautiful crispy outer layer.

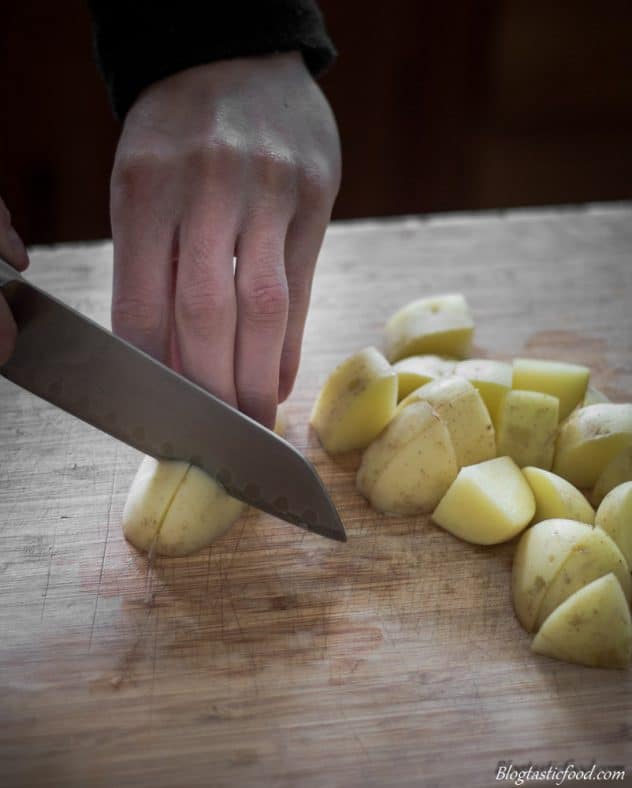
Cutting the Potatoes – I prefer not to cut my potatoes too large because they will take longer to go nice and crispy. Try cutting them no larger than an inch thick and see how it goes for you. You will probably find that you won’t have to blast them in the oven for as long, Which means you won’t need to experience the frustration of checking the potatoes 1000 times because of how long they’re taking to brown.
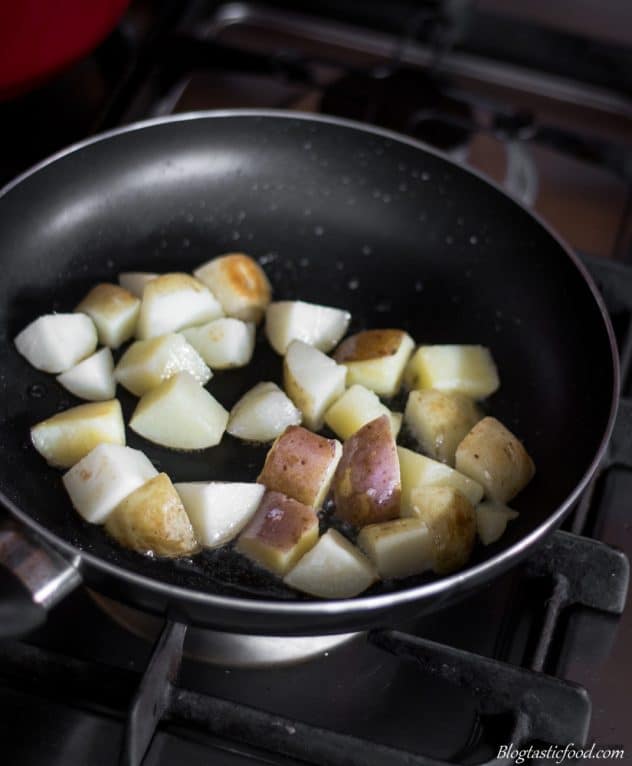
Pan Frying the Potatoes –I wouldn’t do this if I have done the par-boiling step, as I do not think it’s necessary. But frying the potatoes in a preferably non-stick pan over high flame for about 3-5 minutes can just help kick start that outer skin on the potatoes.
Dabbing the potatoes with kitchen paper – Again, this step is pointless if you’re going to do the par-boiling step, but if your not, this is just a way to get rid of some of the moisture.
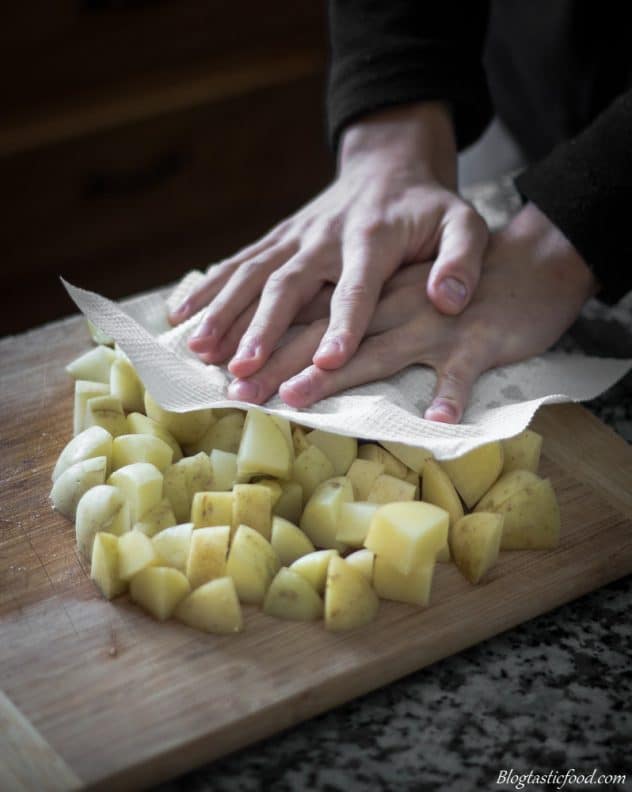
You’re not going to get rid of all the water content so don’t sit there all day dabbing away at raw potatoes. After you dice your potatoes, just spend 1-2 minutes doing this dabbing step and move on.
Leaving the skin on – Honestly, there are only I few times where I may peel my veg, but this is definitely not one of those times. I find that the skin gives more texture and more flavour. However, some people like to take it off. I guess this is more personal preference, so do as you wish but for me, there is no reason to peel the potatoes in this case.
Potato Purée (use starchy potatoes)
So, one of the most amazing things about potatoes is they can soak up a lot of fat. Especially if you use starchy potatoes. This is important to know because fat is what’s going to make this potato purée totally awesome. And we are going to use fat in the form of cream and butter.
Now before we even think about adding the fat, we need to effectively puree the potato. Remember, I said purée, not mash (we’ll go over mashed potatoes later).
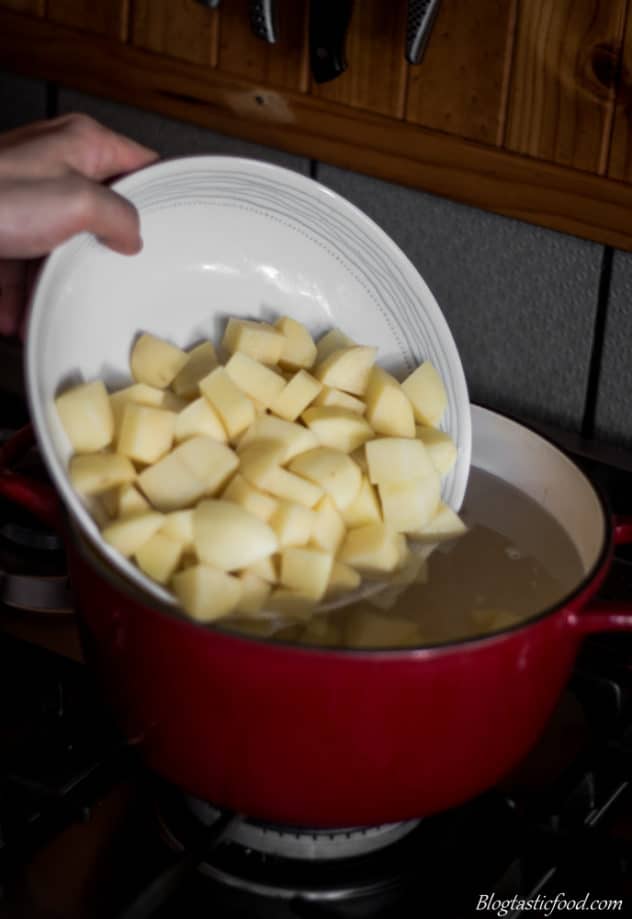
So first, we obviously have to cook the potatoes. I just like to boil the potatoes by peeling them and cutting them into inch thick dices, making sure that I cut all the dices at approximately the same size, so they all cook evenly. I then add the potatoes to a large pot of salted water, then bring that water to a boil.
Once the water is boiling it usually takes about 10 minutes for my potatoes to cook. However, this is not full proof, just an approximation. Your stove and your pot will have a different thickness to my pot, meaning your water will come up to a boil faster or slower than mine.
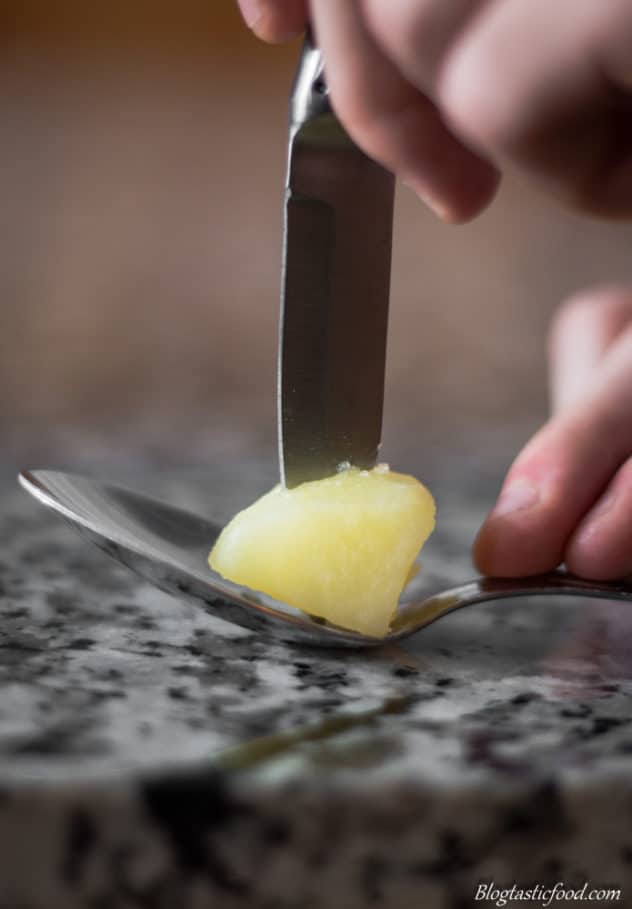
So rather than focusing on time, keep checking to see if the potatoes are cooked by sticking a small knife through them. If you feel resistance, the potato needs more cooking. If the knife goes through the potato smoothly, the potato is cooked through. I like to test this on the largest dice of potato I can find because if one of the larger looking dices are cooked, that means all the other dices of potatoes are cooked.
Now, keep in mind that just because the potato is being pureed, that doesn’t mean you can just boil the potato for as long as you want, as an overcooked potato will lead to a sloppy potato purée or mash.
One more tip before we get into the pureeing stage. When you strain the potato, it will start drying out as I mentioned before, which is a good thing. However, there will always be wet spots. You can get rid of those wet spots by quickly placing the potato on sheets of kitchen paper. This can be a beneficial practice because it just ensures that no water will interfere with the puree mixture.
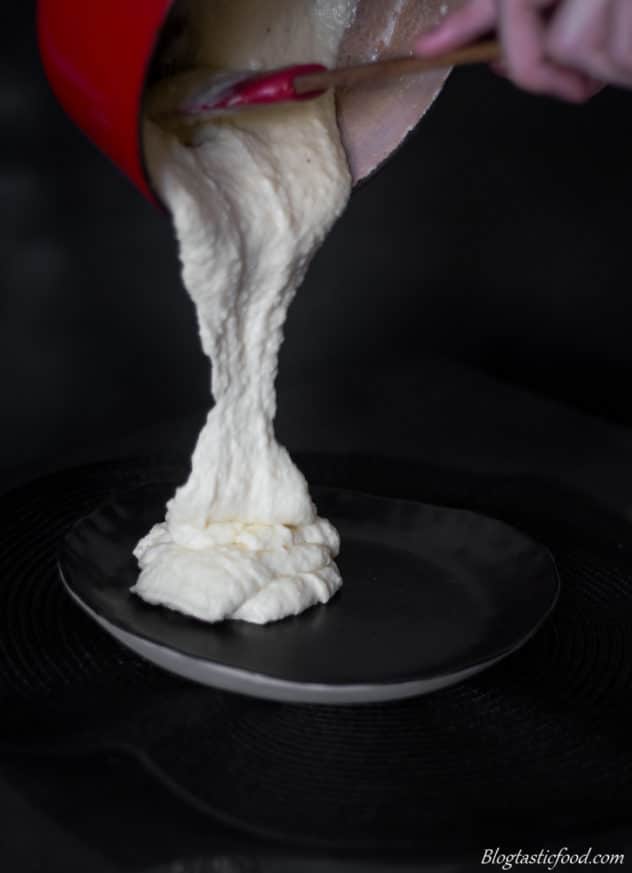
So, the idea of potato purée is that there are no lumps in the potato, it should be nice and smooth. And there are a few pieces of equipment that allows us to do this, and here they are:
The Ricer – Very simple and effective piece of equipment, it’s basically like a large garlic press, but you use it for potatoes instead.
The Drum Sieve – This is the one that I use. To my surprise, it ‘s the cheapest piece of equipment out of the 3 I have listed here. And it’s super effective, you just face the drum sieve upright (like a drum), and then you simply use a spatula to push the potato through the fine mesh. I love the drum sieve because you can make sure every bit of potato has gone through the mesh.
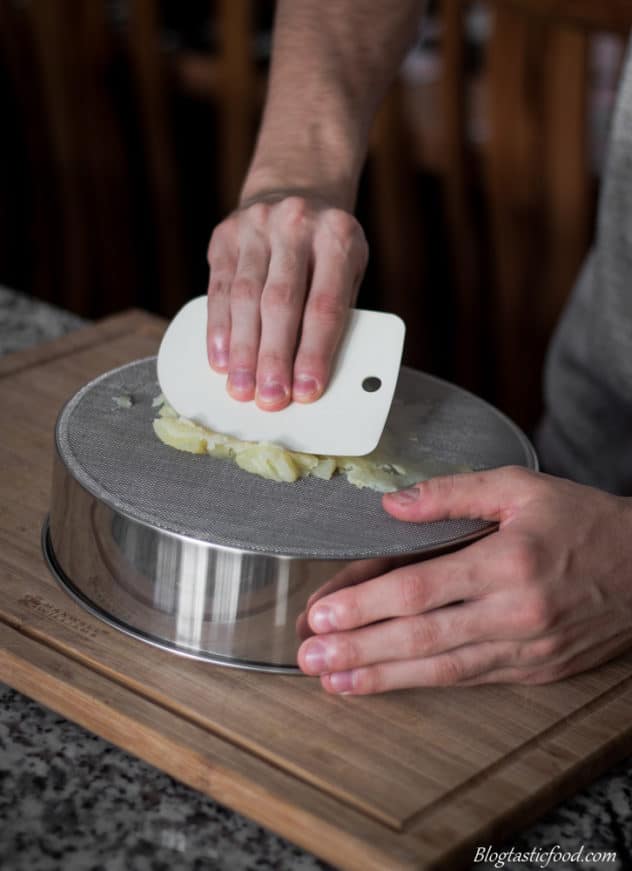
Also, it’s worth getting a scraper as well (the piece of equipment I am using to push the potato through). It’s very helpful with this pureeing method, but it’s also helpful for baking recipes too.
The Mouli – The piece of equipment I recommend the least. It’s the most expensive, and it’s the most annoying to use in my opinion. I remember having to use this all the time at cookery school, and it was always hard labour pushing though loads of potatoes through the mouli. And unlike the drum sieve, there was always those few pieces of potato that I couldn’t push through the mesh.
It’s not terrible and it does the job, but I just prefer the drum sieve or the ricer.
You can push the potato through a sieve, but trust me when I say, it’s not worth it. I tried this once and wow!! My arms were so sore afterwards. And you can break your sieve when doing this too.
Now, once all of your potatoes are pureed, get it in a pot over low heat, the goal here is to just keep the potato nice and hot. High heat will burn the potato. So low heat whilst simply adding cream and butter bit by bit, mixing or whisking it through after each addition.
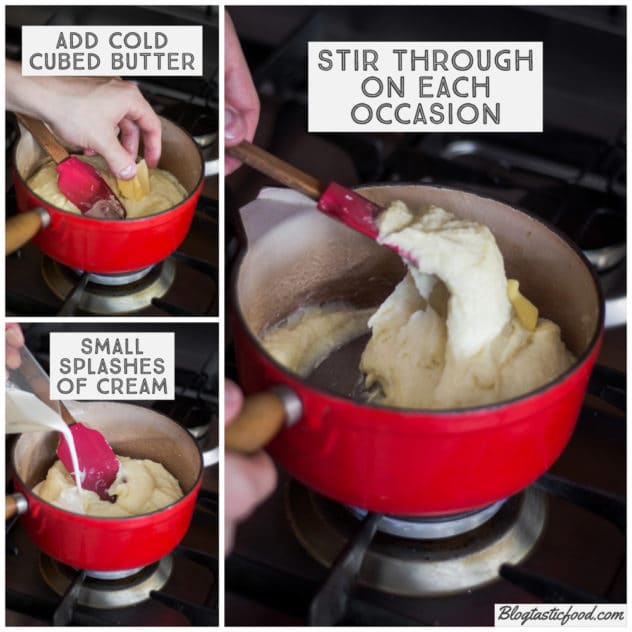
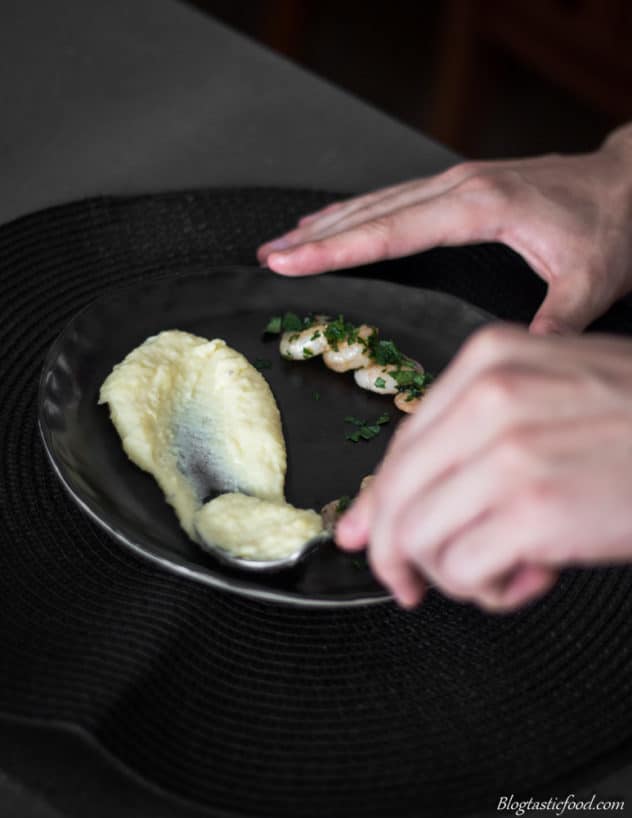
How much do you add I hear you ask? Simple, as much as you think is necessary. You can make your potato purée as luxurious as you want, just make sure you season the potatoes to taste at the end. Now, because potato purée is super luxurious, heavy and high in fat, you don’t really need to make much, simply because you don’t need to serve much.
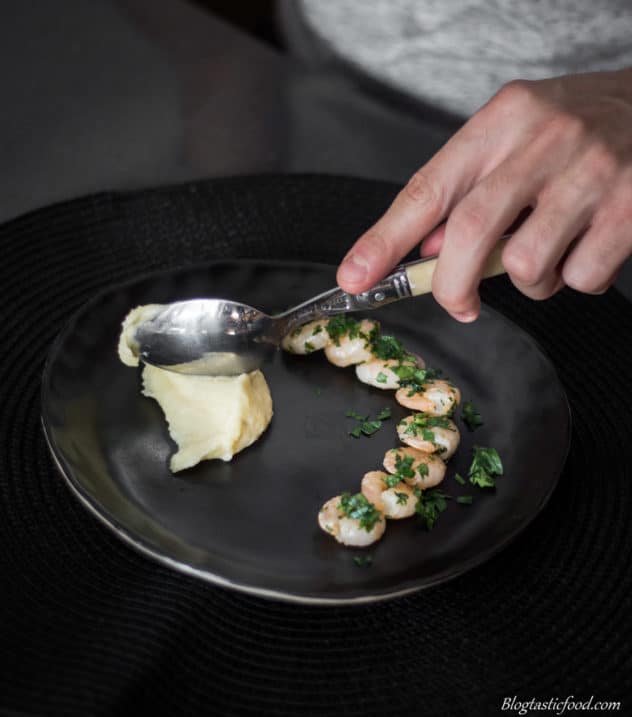
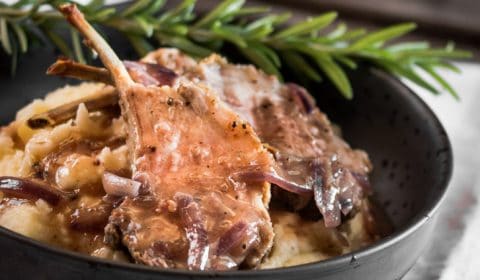
Serving a few dollops as a side with your meat and/or vegetables with something like a red wine gravy works perfectly.
Mashed potatoes (use starchy potatoes)
Mashed potatoes are the king of comfort food. And you should try and keep it simple when making them. So, when cooking the potatoes, it’s the same deal as the pureed potatoes.
Peel your potatoes, cut them into inch-thick dices about the same size, put them in a pot of cold salted water, bring the water to a boil and then cook the potatoes until tender. Drain the potatoes, then use kitchen paper to dry out any remaining wet spots on the potatoes and your good to go. (if you want to read this cooking process in more detail, read through the pureed potatoes section of this guide).
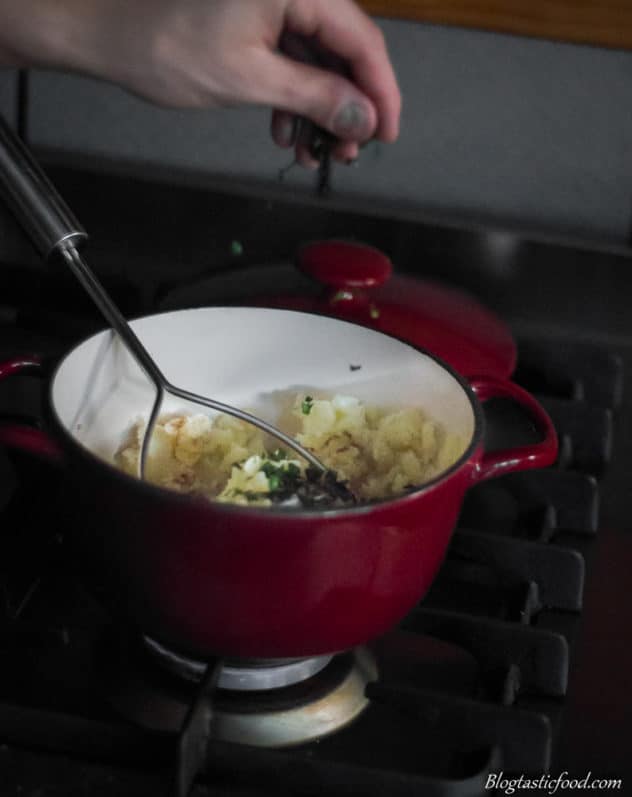
So, you got your hot, cooked potatoes, let’s get mashing!!!
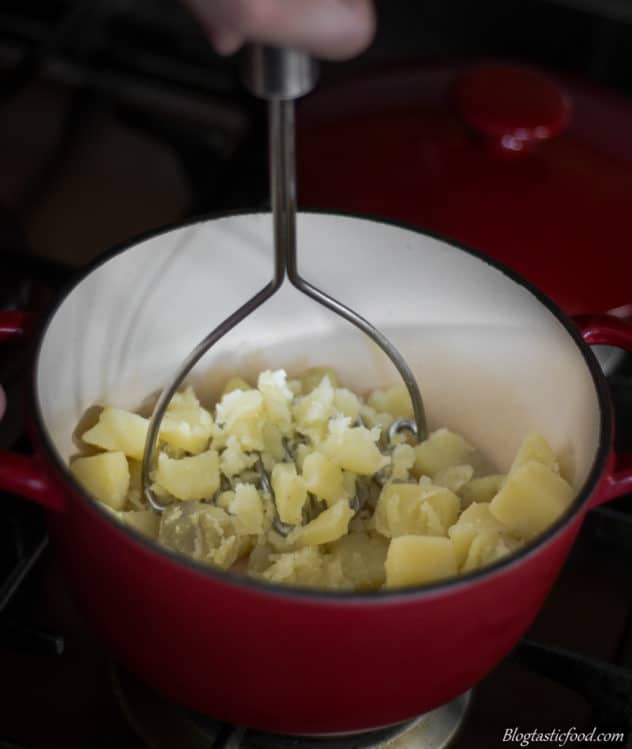
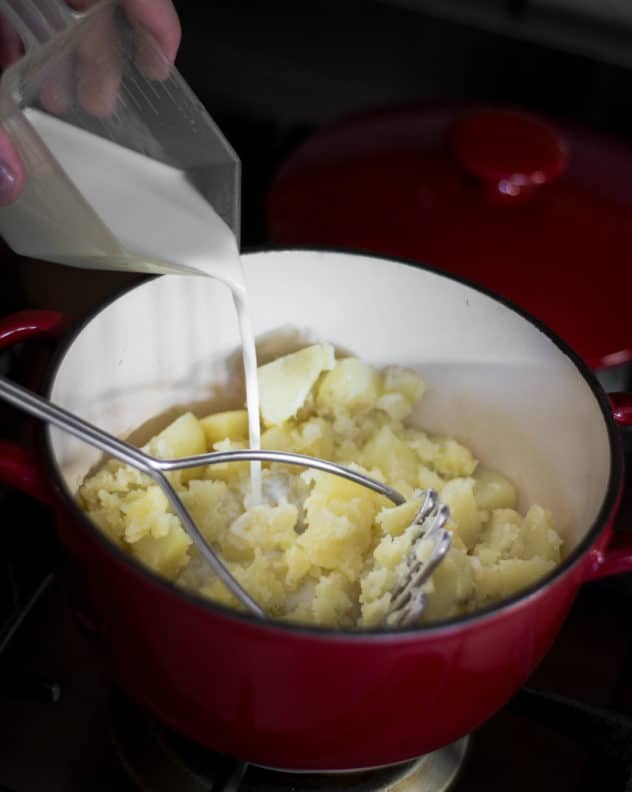
Unlike the potato purée, we don’t need as much fat. A good tablespoon of butter and a few generous splashes of milk can go a long way and is usually enough for me.
However, the story doesn’t end here because this is where I start adding the herbs and spices.
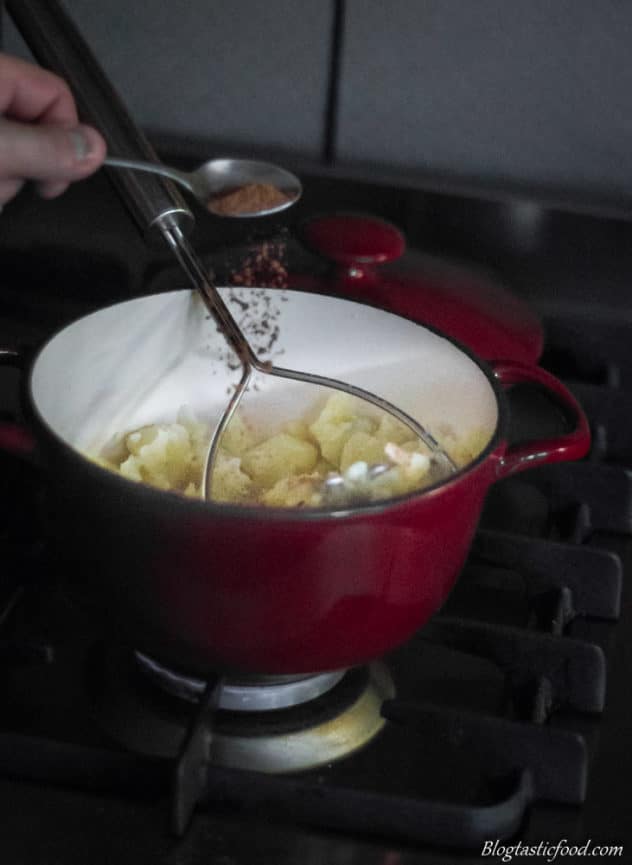
The classic spice is nutmeg (don’t add too much of this stuff because it’s strong) and the classic herb seems to be parsley. A pinch of cumin is also great for mash potatoes, chopped marjoram or oregano also works beautifully in mash. You could also give the potatoes a kick by adding a bit of minced garlic or horseradish.
You could even add other boiled vegetables. I’ve made potato and parsnip mash, and I have also made potato and celeriac mash. My mum made mashed potatoes healthier and less carb induced without me noticing as a kid, by mashing both potato and sweet potato together. So feel free to use other vegetables when making mash, but again, do not overcomplicate them.
Making Chips (use starchy Potatoes)
So, chips made from scratch need to be deep fried twice. If you want to make oven roasted chips for a healthier alternative, follow the roast potato part of this guide, but just cut the potatoes into chips shapes instead. Traditionally, however, chips are deep fried as I am sure you know.
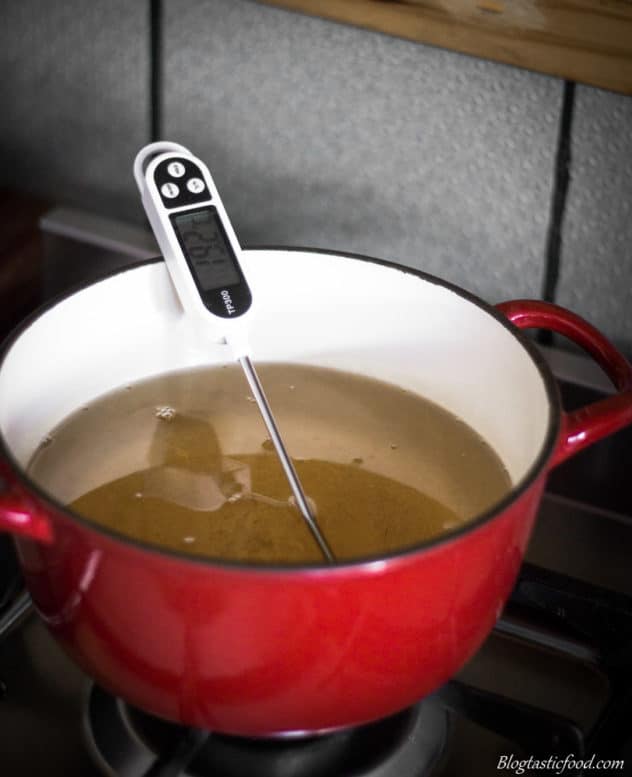
First things first, we start heating the oil up, again, a light oil with a high smoke point. Conala and sunflower oil are 2 very good deep frying oils. To measure the temperature of the oil, you’ll need one of these:

It’s a digital cooking thermometer. The goal is to bring the oil up to 160 degrees on the stove. Now, a little safety tip here, as you heat the oil, I always like to put the pot over one of the back stoves. That way, it can’t really get knocked over, no one can walk past and accidentally knock a handle that may be sticking out. And if for some crazy reason the pot falls over, everything will land on the stove, and not on you.
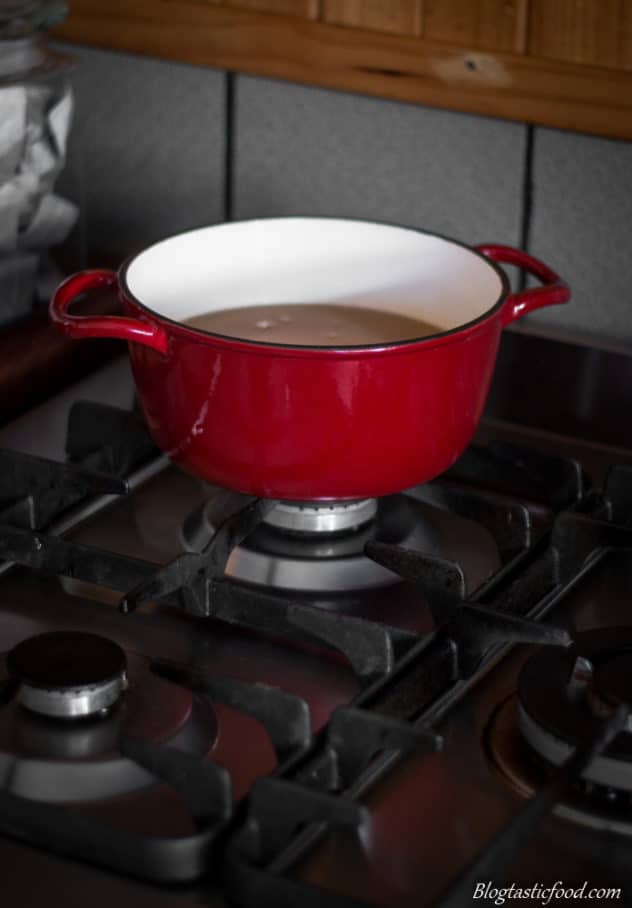
Now, if you’re cooking a large batch of chips, you can use a larger pot and more oil, but if you’re cooking a smaller batch, you can use a smaller pot and get away with less oil. Either way, we want to get the oil in the pot over high heat.
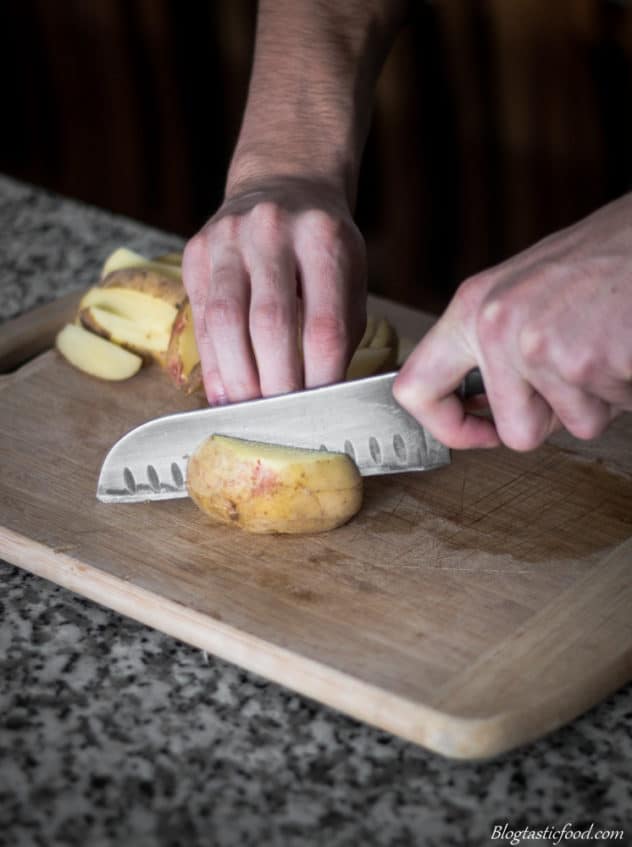
As you heat up your oil, start cutting your potatoes into chip shapes and be sure to cut them at around the same size and thickness so your potatoes cook and brown evenly.
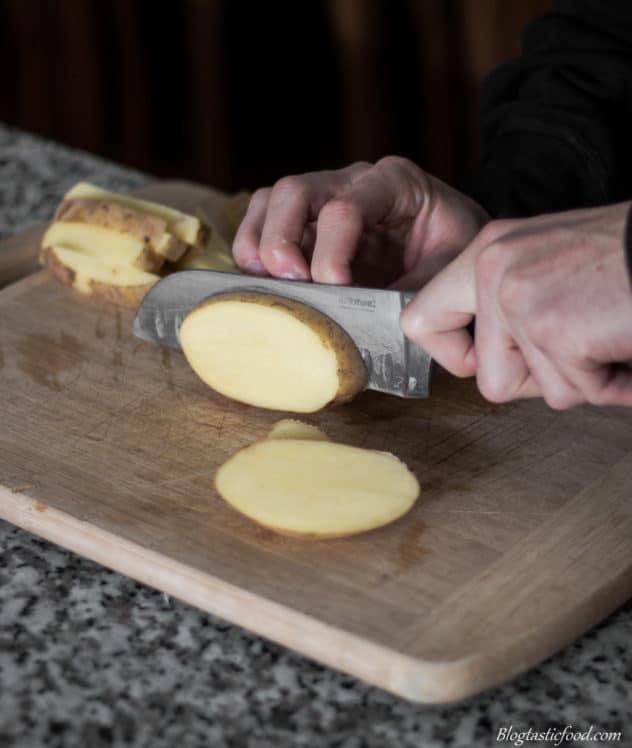
Keep in mind, the thinner you cut the potatoes, the quicker they’ll take to cook and brown. The larger you cut the chips, the longer they’ll take to cook and brown. After you’ve cut your potatoes, line a tray with kitchen paper to drain your chips on.
Ok, so your oil is at 160 degrees and it’s time to get frying. Use a large slotted spoon or a sieve to gently submerge your potatoes in the oil, rather than trying to plonk them in with your hands and then getting hot oil splashed on you. Also, try not to overcrowd the pot when you fry your chips. And like I always say when I mention not overcrowding a pot or pan when frying something, it’s ok if you need to fry the ingredient in multiple batches.
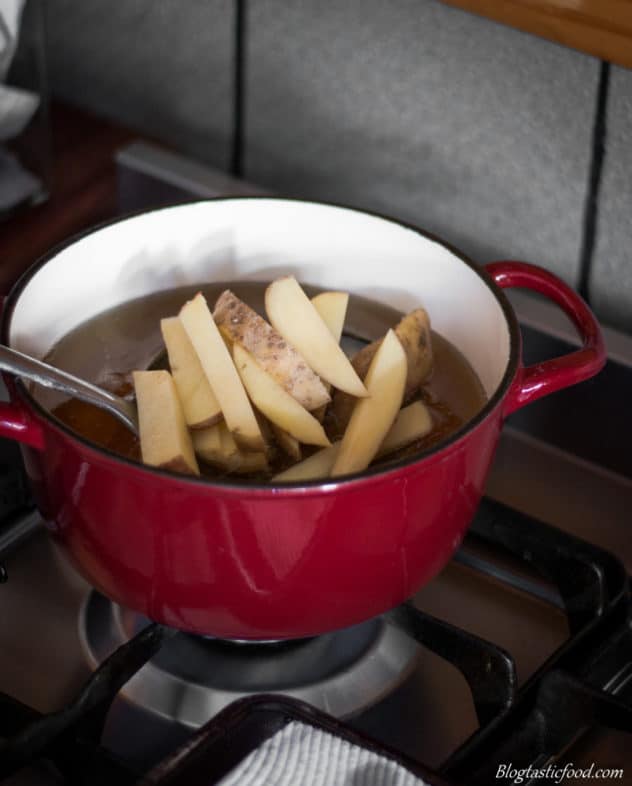
Fry the chips for about 4-5 minutes and then transfer them onto your kitchen paper. And this is where we increase the heat of the oil to 180 degrees.

Here’s is how I like to think of this process. The first time you fry your potatoes, it’s just to cook the potatoes and to get an outer layer. Then, when you re-fry them, that is just when you finish them off, by getting them golden brown and crispy.
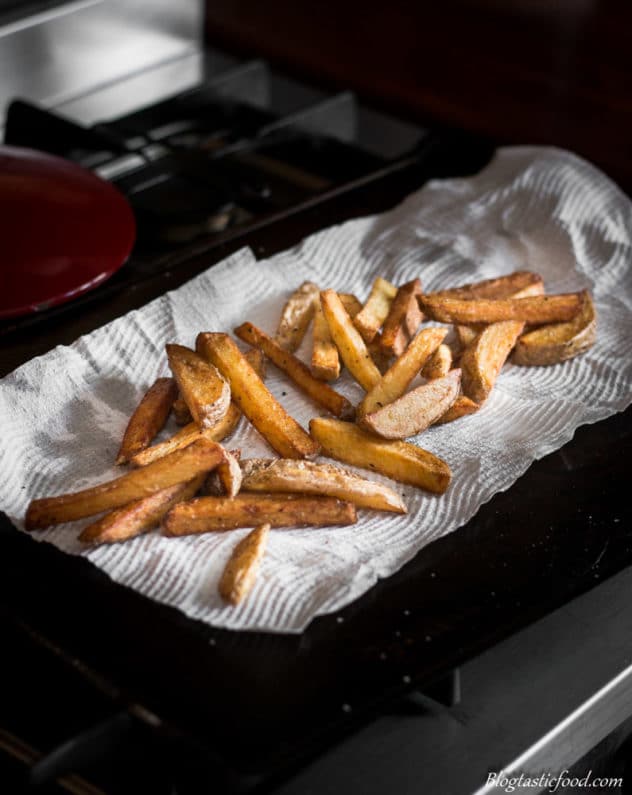
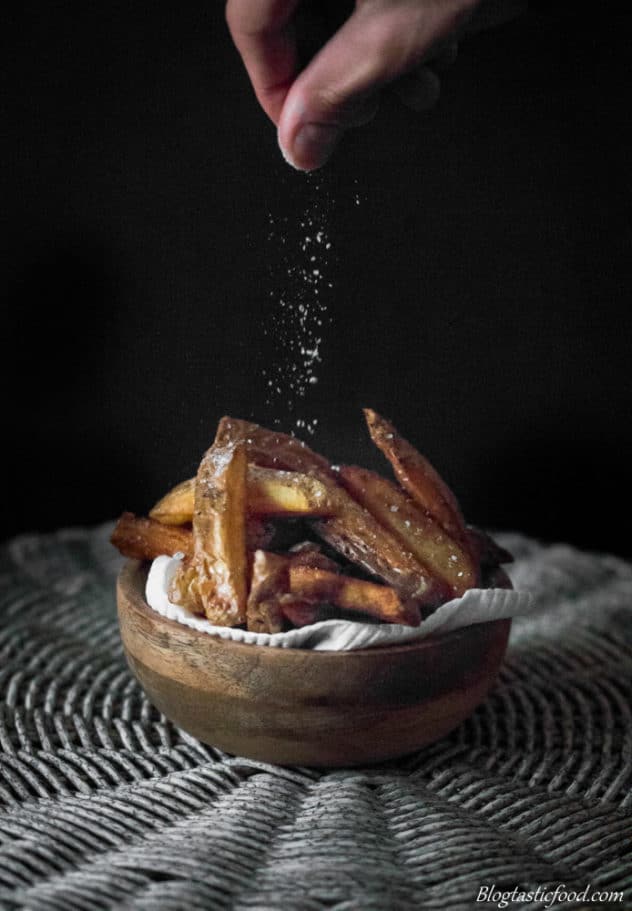
So once that oil comes to 180 degrees, fry them again till they get that beautiful crispy golden brown coating (about another 5 minutes), drain them again, toss the chips in a clean bowl with some salt and pepper and serve them hot!

Mixing the salt in the chips in the salt while they’re fresh and hot is important too, because it allows the salt to stick, rather than falling right off.
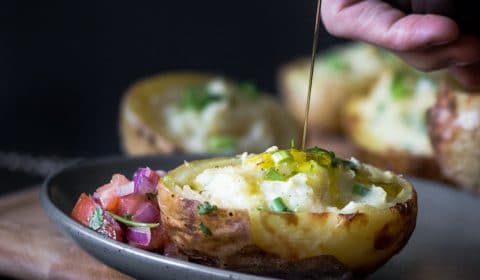
Making Potatoes Crispy! (use starchy potatoes)
No vegetable goes crispy like potatoes, which is a perk you definitely want to take advantage of. And again, it’s hot fat that makes this happen.
And to teach you how to do this effectively, I am going to share a couple of recipe posts with you.
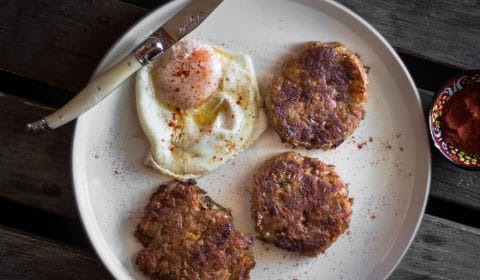
Both recipes are quite similar in that the potato is grated and then fried. The only difference is that the mixture for the potato cakes is bounded with eggs and flour.
Now traditionally, potato cakes are made by boiling and mashing the potato first. Then you add the eggs and the flour, then you start frying them. However, that ain’t how I role when it comes to making potato cakes, because those grated shards of potato go so nice and crunchy when you fry them. So I believe that grating the potatoes leaves you with a better result, but do as you wish.
Potato Salad (use waxy potatoes)
Ok now, this is where waxy potatoes are king of the jungle because starchy potatoes tend to just break down, mush up and just not hold it’s shape well. Plus, they are too starchy and too heavy.
Now, the most common salad that involves potato would have to be the warm potato salad. And it’s very simple to make. First, we boil cut our potatoes into inch thick dices, then we boil them. I explain how I like to boil my potatoes in further detail in the potato purée section of this guide.
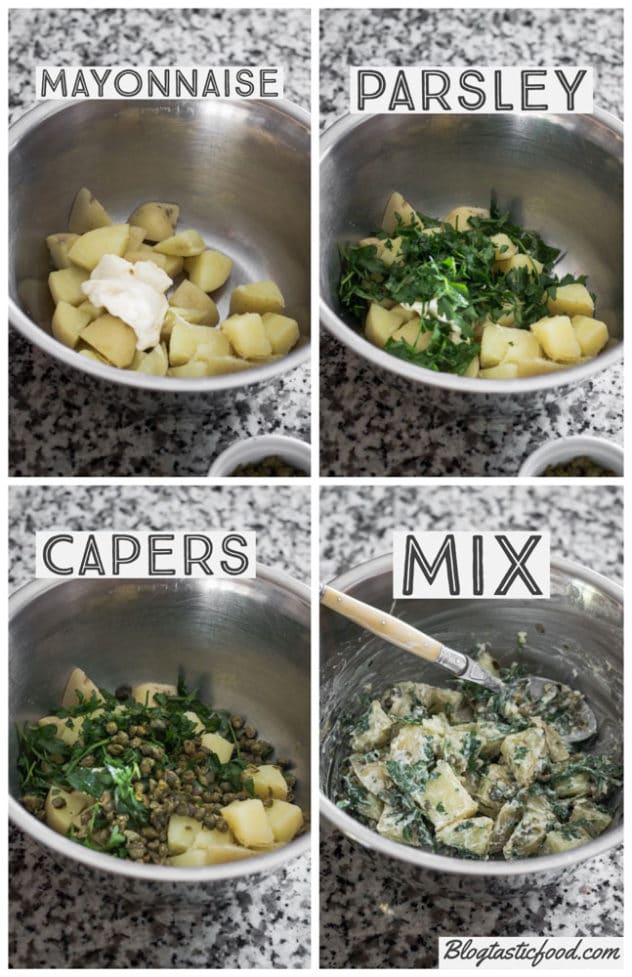
Once the potatoes are boiled and drained, simply transfer the potatoes to a bowl and wait until they are warm. The reason this is important is that we are about to add mayonnaise, and we don’t want the egg content in the mayonnaise to cook and scramble.
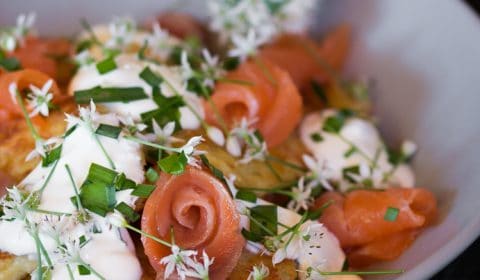
So after a few minutes when the potatoes have cooled down a bit, add just enough mayonnaise to lightly coat the potatoes, don’t drench the potatoes in mayo. From there, I like to add some crispy chopped up bacon, some chopped capers (not too many capers) a touch of lemon juice and then add some herbs at the end. Two great herbs for this salad would be some roughly chopped parsley or some dill tips.
Go ahead and personalise this salad if you want too. Maybe add some sun-dried tomatoes, perhaps you can add some thinly sliced red onions that have soaked in some vinegar so they aren’t too strong, be creative!
This Minestrone Soup is another recipe where waxy potatoes work really well:

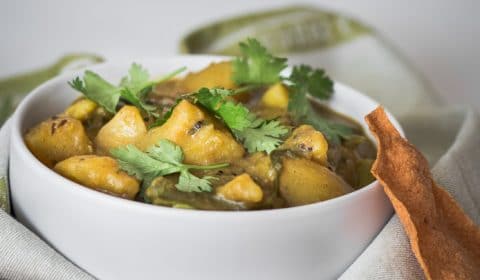
Recipes that are great for all-rounder potatoes
This particular dish is vegan but the same advice applies for the original recipe too.
And that is it ladies and gents!! I really hope you get something out of this post!! And hopefully, the next time you have a bunch of potatoes, you’ll have an idea of what to do with them based on YOUR OWN knowledge. If you wish to subscribe to my blog feel more than free to do so. I share weekly recipes, but just like this post, I do my best to share the fundamentals of what makes the recipe good, so that you actually become a better cook. If you subscribe you will also receive a free E-book featuring 10 awesome recipes that I think you will love!!
Also, if you apply any of the tips you learnt from this video, feel free to use #blogtasticfood.food on Instagram to show me your results.
Thank you so much for reading through this cooking lesson and have an amazing day!!
Leave a Reply