
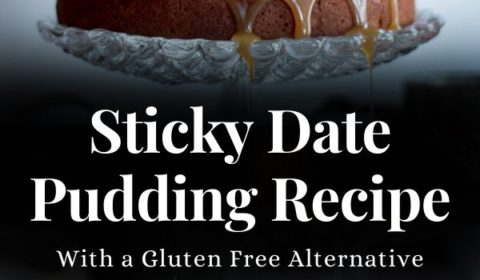
A classic sticky date pudding recipe. Let’s be honest, nobody can argue with that. I will also show you how to make this pudding gluten free and how to make mini steamed sticky date puddings.
I mean, it’s just that recipe that nobody dislikes. Pour a dessert sauce on top, serve it hot and you will make a lot of people happy my friend.
How to make sticky date pudding
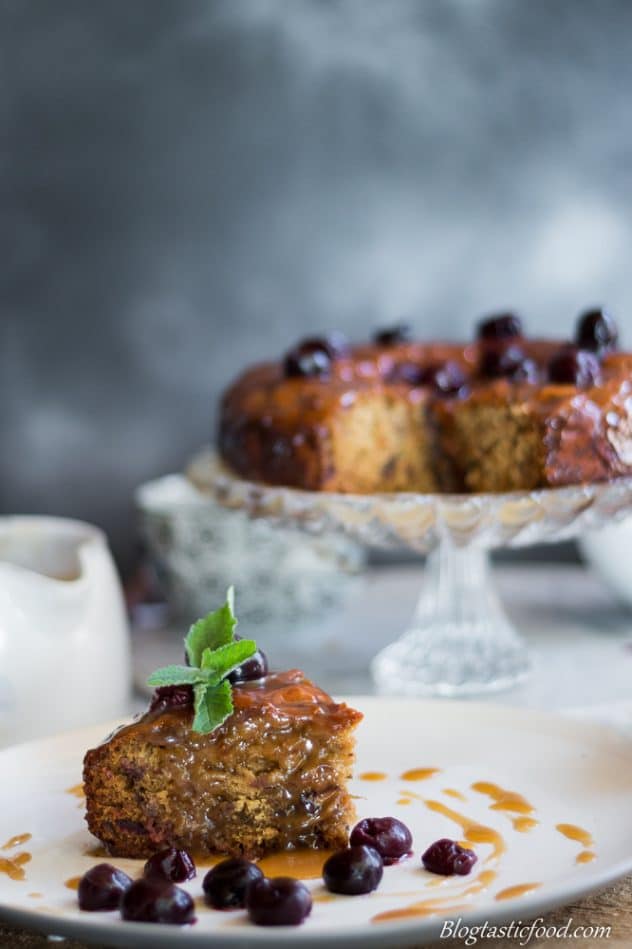
So, I prepared my sticky date pudding in the form of a nice big cake instead of serving individual ones. A fantastic way to serve this dessert if it’s for someone’s birthday.
And here’s how easy it is!
So, first, put some dates in a pot with some water, then you bring the water to a boil.
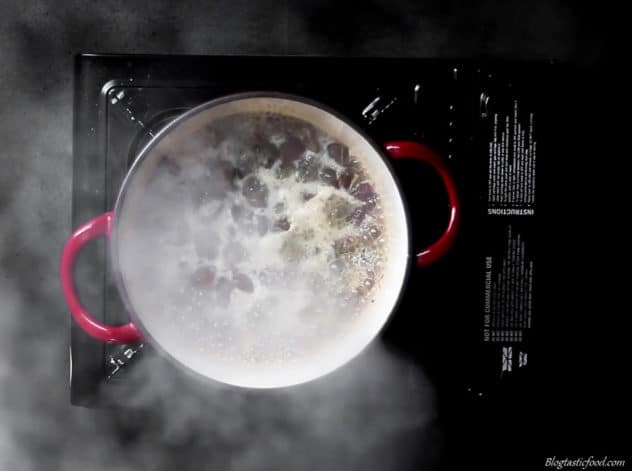
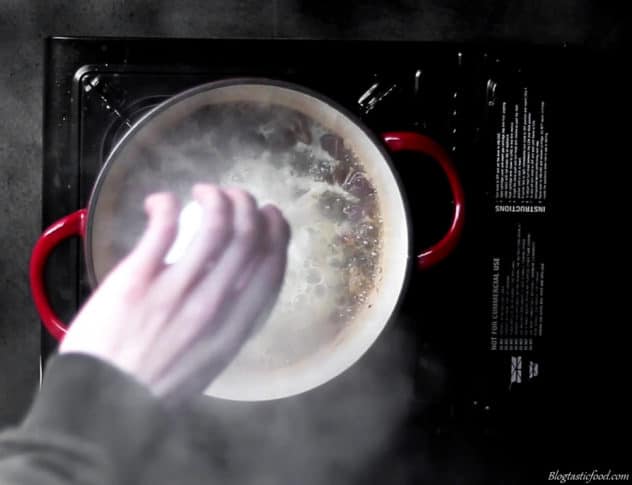
As soon as the water starts boiling, turn the heat off and add the baking soda. Then just let that mixture cool.
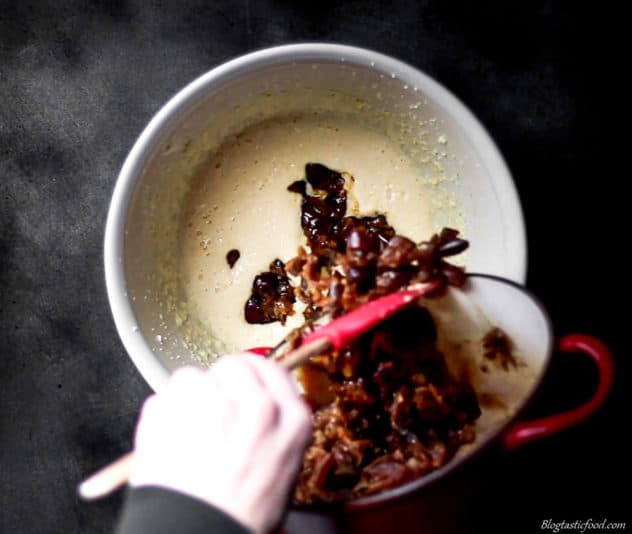
You then beat the butter and sugar in a large bowl, then beat the eggs through one at a time like you would do to make a regular cake. Then you add that date mixture and mix it through.
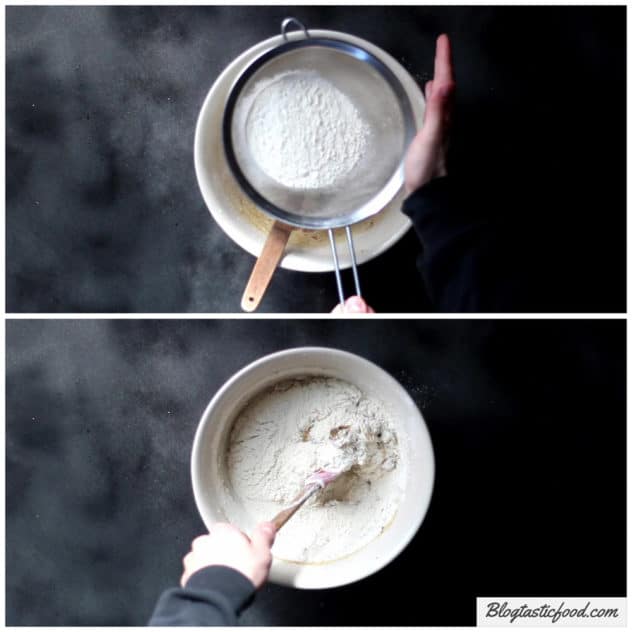
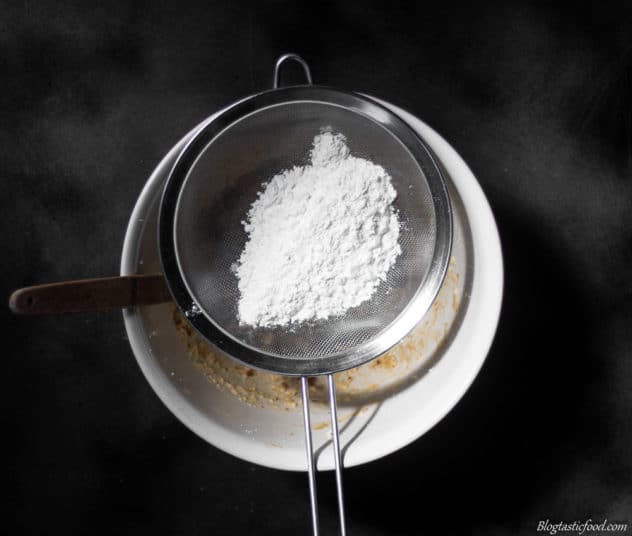
Finally, add your self-raising flour, gently stir it through and your pudding batter is done!
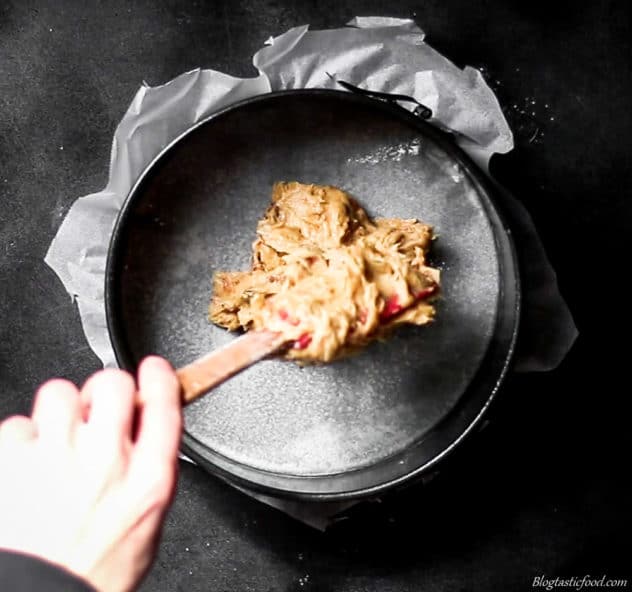
Finally, simply transfer the batter to a greased and lined cake tin and bake the pudding for about half an hour.
How to make this pudding gluten free
It’s as easy as replacing the regular flour with gluten free flour. The texture of the pudding will be a bit lighter, but it will still be fantastic.
Yep, that’s right, that is all you have to do. And I used my gluten free batter to make mini steamed sticky date puddings. Which I’ll show you how to do in this post.
Making this dessert for a crowd
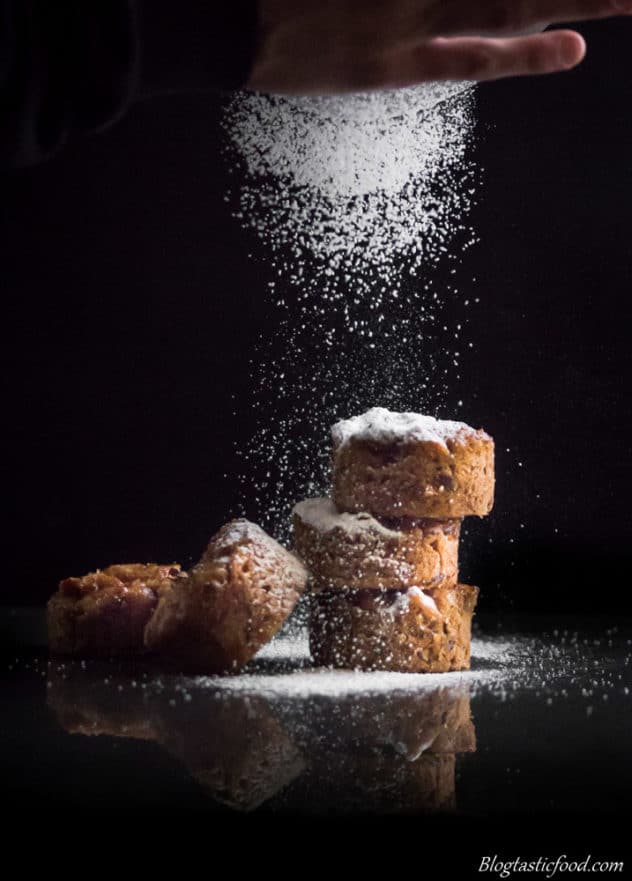
Well, you could just multiply the recipe and make more sticky date puddings. That would work, however, I think a more effective strategy would be to make mini individual puddings by cooking them in a greased muffin tray and/or ramekins.
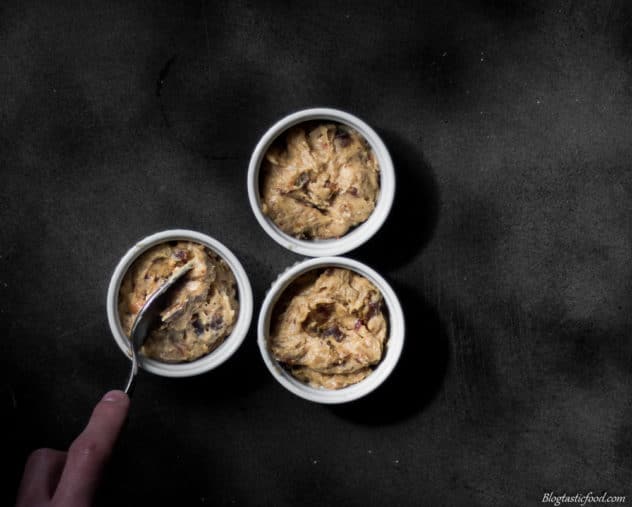
The reason I think this is a better way to serve sticky date pudding to a larger crowd is because you can make them in advance, refrigerate them and then when you serve them, you don’t have to cut these strict portions. You can just put them on a plate for each person, heat them in the microwave and serve them.
How to make mini steamed puddings
It’s so easy, but let me just clarify something, this technique is for people who don’t have a steamer. If you do have a steamer, use it. And steam the puddings for half an hour over gently simmering water.
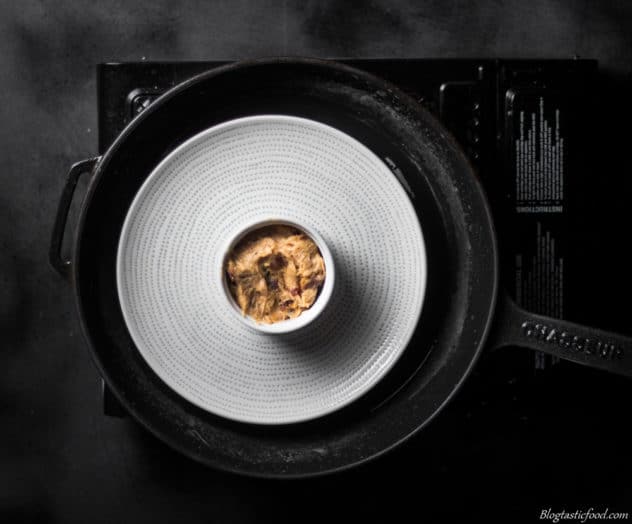
Now, here is the method for the people who don’t have a steamer. You make the batter exactly the same way, then you grease some small ramekins well with butter or cooking spray. Once you’ve done that, you add some water to a deep pan or a large pot.
Make sure the water is relatively shallow and bring to a very gentle simmer.
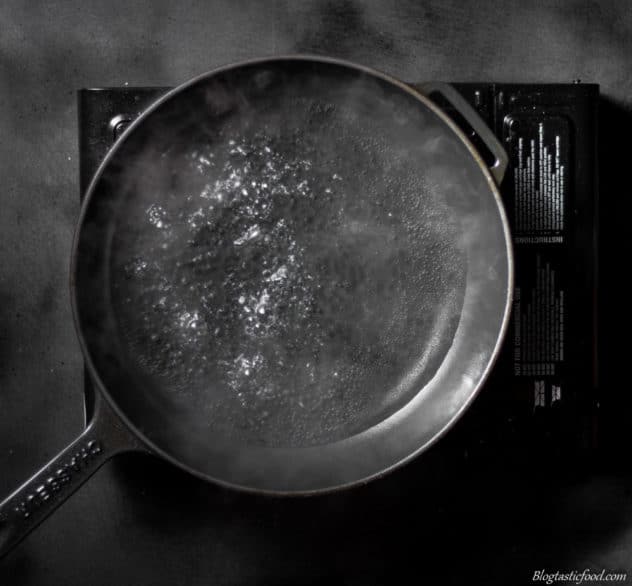
Once you’ve done that, you scrunch up 3 sheets of aluminium foil and gently place them in the simmering water.
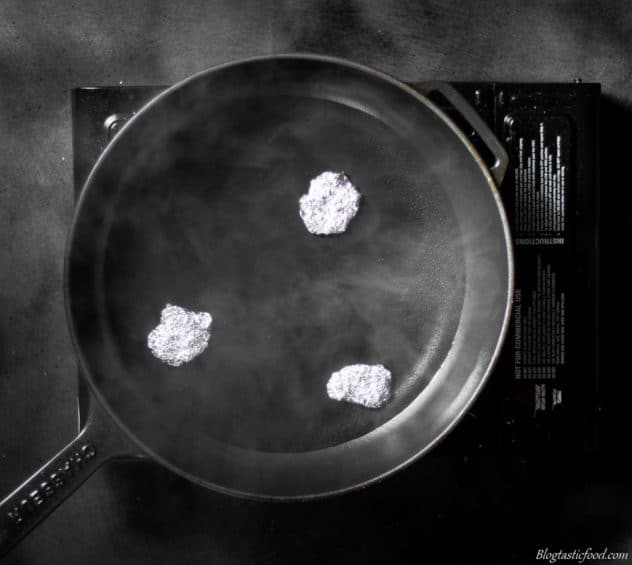
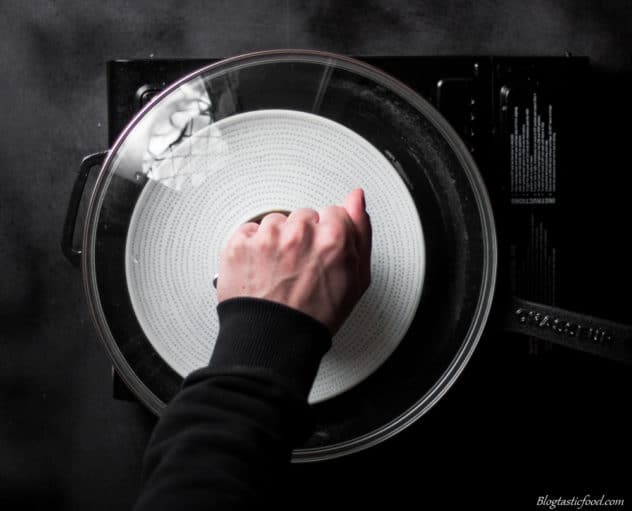
You then put a plate over the simmering water, making sure it sits nicely on the 3 pieces of aluminium foil.

Next, put as many puddings as you can on the plate.
And finally, put a lid on top, and they should start steaming!
Steam the puddings for about half an hour, and check halfway through to see if you need to add more water (since some of it may have evaporated). If you do, heat that water up in a kettle before adding it.
Once the puddings are cooked, wait for the ramekins to cool for a few minutes and you should be able to easily turn them out. You’ll notice that the steamed puddings have a beautiful light texture.
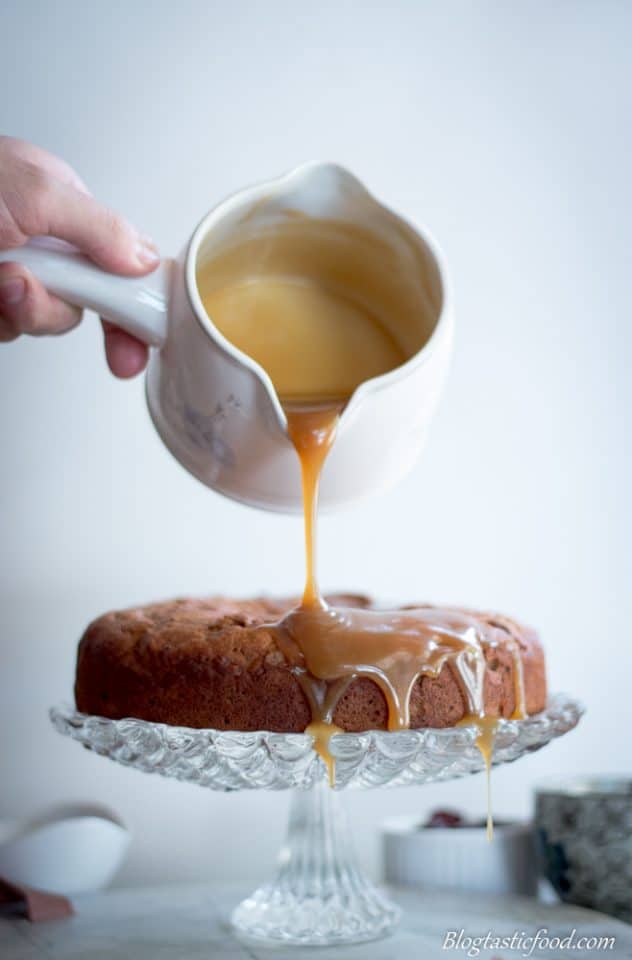
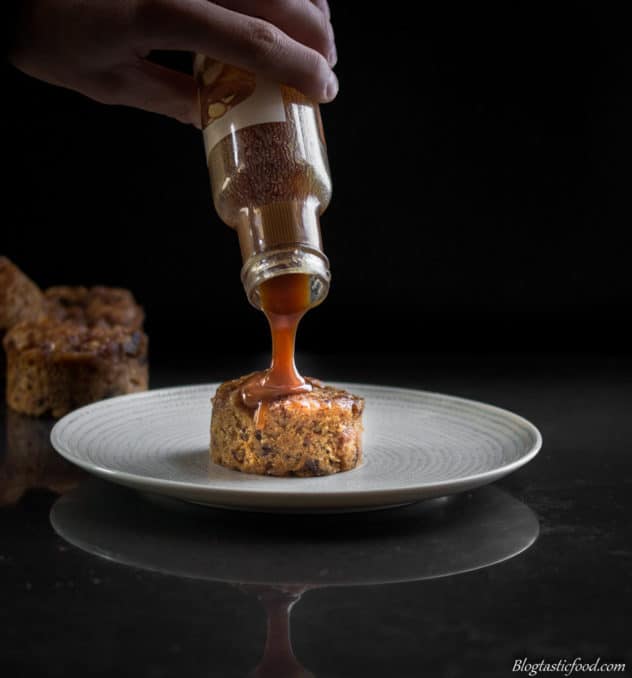
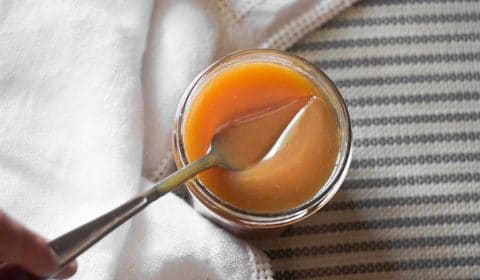
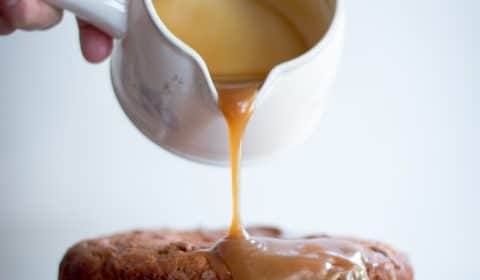
The sauce
So, the classic sauce to serve with sticky date pudding is butterscotch sauce. So click the link below to check out my insanely easy butterscotch sauce recipe.
Or, you could also try my rum flavoured caramel sauce which would also be amazing with this dessert. Yes, that’s right, the caramel recipe involves a sneaky optional alcohol addition.
Can you freeze sticky date pudding?
Yep, absolutely! I tested it out for myself and it works beautifully. Very easy to re-heat in the microwave and in the oven too!
Thanks so much for stopping by lovely people, the time you spent reading through this recipe post is greatly appreciated. Feel free to subscribe down below, and have the most incredible day!
Sticky Date Pudding
A classic dessert that everyone knows and loves. Best served with butterscotch sauce.
Ingredients
- 250 g of pitted dried dates halved
- 1 cup of water
- 1 teaspoon of baking powder
- 1 teaspoon of vanilla extract
- 75 g of butter softened
- Some extra butter or some cooking spray for greasing your cake tin
- 75 g of caster sugar
- 2 eggs
- 1½ cups of self-raising flour
Instructions
-
Pre-heat your oven to 170 degrees Celsius.
-
Grease a cake tin with your extra butter, then line it with non-stick baking paper.
-
Put your dates and 1 cup of water in a pot and the bring to the boil. Once the mixture is boiling turn the heat off, add your baking powder and stir through, then set aside to cool.
-
Beat the butter and the sugar together in a bowl until light and fluffy.
-
Add the eggs one at a time beating through well on each occasion. Then add your cooled, date mixture and stir through until well combined.
-
Add your self-raising flour and then gently fold through with a wooden spoon or spatula.
-
Transfer the mixture into the prepared cake tin then bake in the oven for 30-35 minutes.
-
To test whether the pudding is cooked, you can stick a skewer in the middle, leave for 2 seconds, and if the skewer comes out clean, it's cooked.
Recipe Notes
- I highly recommend that you serve this dessert with Butterscotch Sauce.
- If you want to make this pudding gluten free, just replace the flour with gluten-free flour.
- If you do make a gluten free sticky date pudding, make sure you use a baking powder that's gluten free.
- If you want to serve sticky date pudding to a crowd. You can make a lot of small ones in advance (cook them in muffin tins or ramekins), and then they'll be very easy to serve.
- If you want to make mini steamed sticky date puddings, look up the guide in the post on how to do so.
- If you want to make this dessert for a particular date down the road, you can freeze it.
Great sequence of action shots … the caramel sauce looks decadent.
Lol OHHHH Yes! Not gonna lie, I do love it! ???? It all looks real good! Seriously!
Thanks (: that took some time to do haha.
Thank you so much Eartha (:
Lovely share?
Thanks roop (: Love your blog
Beautiful!!!
Thanks so much, lovely to hear from you (:
that looks delicious!
Thanks so much! (:
Looks Terrific …..delicious pudding!
Thanks so much! I really appreciate that! (:
Beautiful. I love the individual puddings. that way, I wouldn’t be tempted to eat too much! Pretty photos!
What a beautiful walk through and a gorgeous series of photographs! I love the attention to detail you have for all the steps and not just the finished product. Your large version for a crowd sounds delicious! I’ve been working on a version too that I hope to post in the winter 🙂
Yes the individual ones are fantastic! Thanks so much for your comment (:
Thank you so much for the kind comment! And I bet you’ll crush that post post in the winter!! (:
Wow! Amazing photos and writing skill😊
Thanks so much!!